Complete Guide to EV Charger Installation for Homeowners
- ktgreensolutions
- Dec 30, 2025
- 3 min read
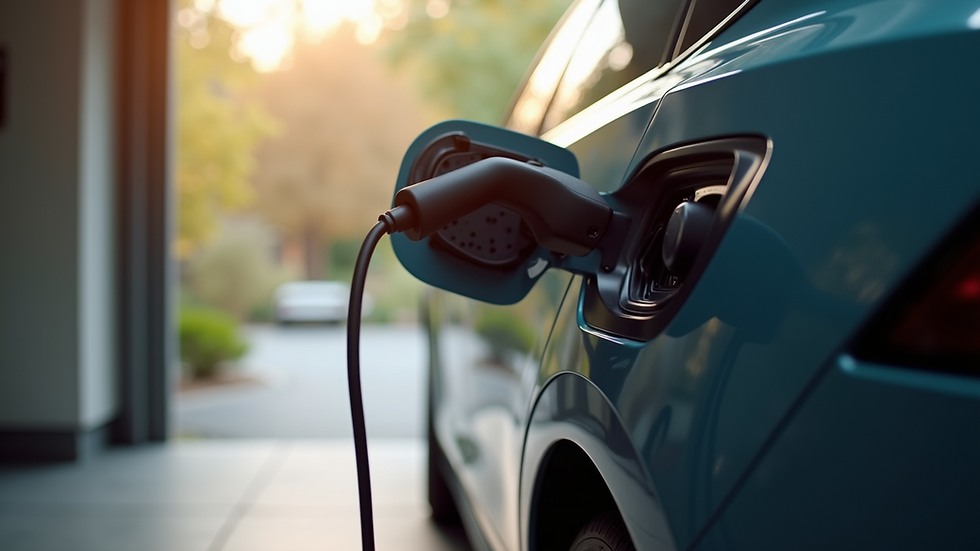
As electric vehicles (EVs) become increasingly popular, many homeowners are considering the installation of EV chargers at home. This guide will walk you through everything you need to know about installing an EV charger, from understanding the types of chargers available to the installation process and the benefits of having one at home.
Understanding EV Chargers
Before diving into the installation process, it's essential to understand the different types of EV chargers available. There are three main types:
Level 1 Chargers
Voltage: 120 volts
Charging Speed: Slow, typically adds about 4-5 miles of range per hour
Ideal For: Overnight charging at home
Level 1 chargers use a standard household outlet and are the most straightforward option for homeowners. However, they are not the most efficient for daily use, especially for those who drive long distances.
Level 2 Chargers
Voltage: 240 volts
Charging Speed: Faster, typically adds about 25 miles of range per hour
Ideal For: Daily charging for most EV owners
Level 2 chargers require a dedicated circuit and are the most common choice for home installations. They provide a significant boost in charging speed, making them suitable for daily use.
DC Fast Chargers
Voltage: 480 volts
Charging Speed: Very fast, can add up to 80% charge in 30 minutes
Ideal For: Commercial use or public charging stations
DC fast chargers are not typically installed in residential settings due to their high cost and power requirements. They are more suited for commercial locations or public charging stations.
Benefits of Installing an EV Charger at Home
Installing an EV charger at home offers several advantages:
Convenience: Charge your vehicle overnight and start each day with a full battery.
Cost Savings: Charging at home is often cheaper than using public charging stations.
Increased Property Value: Homes with EV chargers may attract more buyers in the future.
Environmental Impact: Supporting the use of electric vehicles contributes to reducing carbon emissions.
Preparing for Installation
Assess Your Electrical System
Before installing an EV charger, it’s crucial to evaluate your home’s electrical system. Here are some steps to follow:
Check Your Electrical Panel: Ensure your panel can handle the additional load of a Level 2 charger. Most Level 2 chargers require a dedicated 40-amp circuit.
Consult an Electrician: If you're unsure about your electrical capacity, hire a licensed electrician to assess your system and recommend upgrades if necessary.
Choose the Right Location
Selecting the right location for your EV charger is essential for convenience and safety. Consider the following:
Proximity to Parking: The charger should be close to where you park your vehicle.
Weather Protection: If possible, install the charger in a sheltered area to protect it from the elements.
Accessibility: Ensure the charger is easily accessible for daily use.
The Installation Process
Step 1: Obtain Necessary Permits
Before installation, check with your local government to see if you need any permits. Many areas require permits for electrical work, especially for new installations.
Step 2: Hire a Qualified Electrician
While some homeowners may feel comfortable installing a charger themselves, hiring a qualified electrician is recommended. They will ensure the installation meets local codes and safety standards.
Step 3: Install the Charger
The installation process typically involves:
Mounting the Charger: The electrician will securely mount the charger on a wall or post.
Wiring: They will run electrical wiring from your panel to the charger, ensuring it is properly connected.
Testing: After installation, the electrician will test the charger to ensure it operates correctly.
Step 4: Register Your Charger
Some manufacturers require you to register your charger for warranty purposes. Be sure to follow any registration instructions provided.
Maintenance and Safety Tips
Once your EV charger is installed, it’s essential to maintain it properly. Here are some tips:
Regular Inspections: Check the charger for any signs of wear or damage.
Keep It Clean: Regularly clean the charger to prevent dirt and debris from affecting its performance.
Follow Manufacturer Guidelines: Adhere to any maintenance recommendations provided by the manufacturer.
Conclusion
Installing an EV charger at home is a smart investment for any electric vehicle owner. With the right preparation and professional help, you can enjoy the convenience and benefits of charging your vehicle at home. As electric vehicles continue to grow in popularity, having a home charger will not only enhance your driving experience but also increase your property value.
By following this guide, you can confidently navigate the installation process and enjoy the many advantages of having an EV charger at home. If you're ready to take the next step, consult with a local electrician to discuss your options and get started on your installation journey.


Comments